TMO is a versatile and powerful Microsoft Outlook plugin. It enables you to create new work items, link them to an existing Outlook email, create custom work item types in TFS and Visual Studio Team Services, track the current state of previous work items and more.
Note: Before you begin reading, we would like to highlight that this quick start guide can also be used for Almo, our latest product that integrates Azure DevOps Service and Microsoft Outlook. If you are using Azure DevOps Service, we recommend downloading Almo.
Here’s how you can quickly set up TMO:
Add Work Item Types to TMO Settings
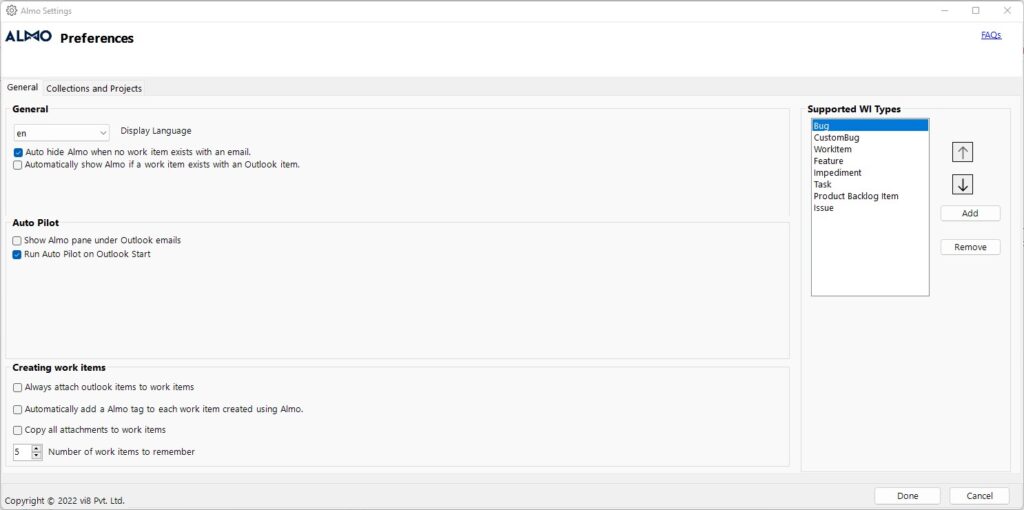
To create a work item, go to the TMO toolbar and choose the ‘Open Settings’ option. A dialogue box will open. It will display a list of work item types you can work with. You can also add new work item types by clicking ‘Add’ and/or delete the existing ones by selecting the ‘Remove’ option.

Connect to a TFS Server or Azure DevOps
Click the ‘Connect to TFS’ option in the TMO toolbar.

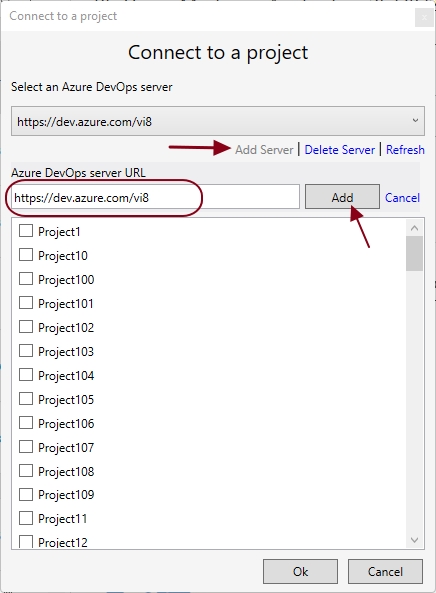
Now, press ‘Servers,’ enter the server URL and press ‘Ok.’ Authentification is required in some cases. Once that is done, another dialogue box with Team Projects will open. Select one Team Project from the list and click ‘Connect’.
Create and Save a Work Item
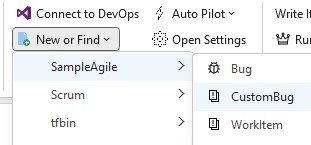
Click on the email you want to associate with a work item and select the ‘New or Find’ option from the TMO toolbar. This will open a dropdown menu with the work item type. You can also select existing work items.

Select the work item type and TMO will pick up important information from the email and pre-populate fields in the work item type.
Pro tip: you can modify this behaviour by using Templates.
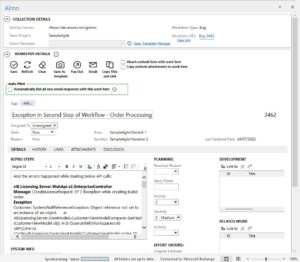
Finally, click ‘Save’ and TMO will create the work item.
TMO will automatically attach a copy of the email and other related attachments to the work item it creates. You can load the work item again in Microsoft Outlook and track all the updates.


