
Create and manage work items efficiently with TMO, an affordable add-in that seamlessly integrates Microsoft Outlook and TFS. TMO comes with preset rules to make work item management easier. You can easily change these rules using the Setting Screen option, instructing TMO to follow your customized commands.
Note: We would like to highlight that the function of the Setting Screen in TMO and Almo is the same. If you are using Azure DevOps Service, we recommend downloading Almo.
How to Open Setting Screen in TMO
To open the Setting Screen, go to the TMO menu and open ‘TMO Settings.’ You will find two options in the main bar of this window — General and Collections and Projects. Use them to customize work item management rules in TMO.
General
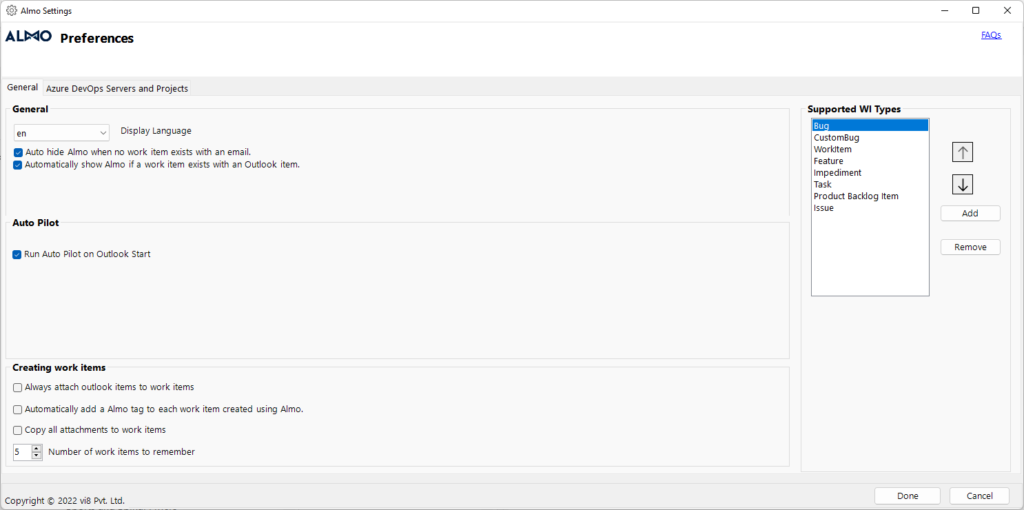
1. General
Use this section for general work item management settings. Select the default language using the ‘Display Language’ dropdown menu. Currently, TMO is available in English,
To change TMO’s actions towards incoming emails with work items, use the below two checkboxes:
- Auto hide TMO when no work item exists with an email – TMO will not run if no work item is attached to an email.
- Automatically show TMO if a work item exists with an Outlook item – TMO will run automatically if a work item is attached to an Outlook item.
2. Auto Pilot
With TMO Auto Pilot, automate work item creation and management to save up to 70 minutes daily. In this section of the setting screen, you have two action checkboxes:
- Show TMO pane under Outlook emails – TMO will not run automatically but you will see the panel under Outlook emails
- Run Auto Pilot on Outlook start – TMO will run automatically when you start Outlook and follow your set of rules to manage work items
3. Creating Work Items
This section enables you to set preferences for work item management. There are three checkboxes in this section along with a number input box.
- Always attach Outlook items to work items – TMO will automatically attach Outlook items to work items
- Automatically add a TMO tag to each work item created using TMO – All the work items that TMO has created will automatically include a TMO-specific tag for easy identification
- Copy all attachments to work items – all attachments included in your Outlook email will be copied to the work items
- Number of work items to remember – the number of work items associated with an email that you want TMO to remember
4. Supported WI Types
In this section, add any work item type that is unique to your Azure DevOps project or remove the one that you wouldn’t work with. Adding/Removing entries from here controls what you will see when you click the New or Find menu in Almo’s toolbar in Outlook’s ribbon.
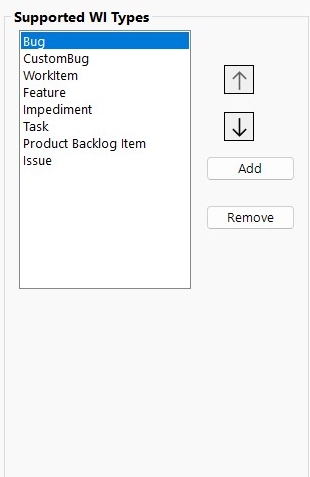
Control what work item types appear in Almo
Collection and Projects
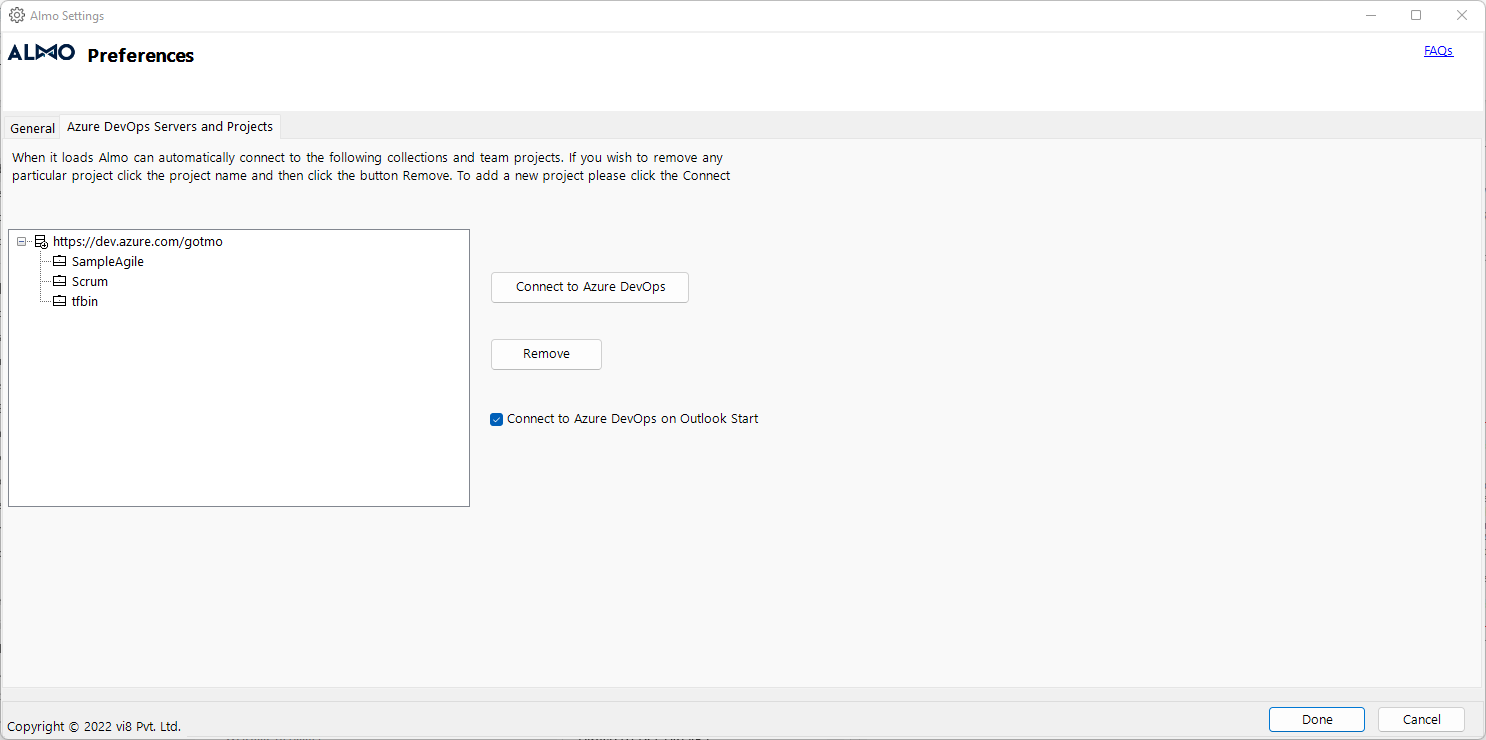
This section enables Almo to connect to the collections and teams projects. Check the ‘Connect to TFS on Outlook Start’ checkbox to run this feature.
It enables TMO to automatically connect to your existing collections and team projects when it loads. To remove any project, select the project name and then click the ‘Remove’ button. Click the ‘Connect to TFS’ button to add a new project.
